Please fill out the form below and we will get back to you as soon as possible.

Blog
How to Build a Simple Wall Shelf (Beginner DIY Guide)
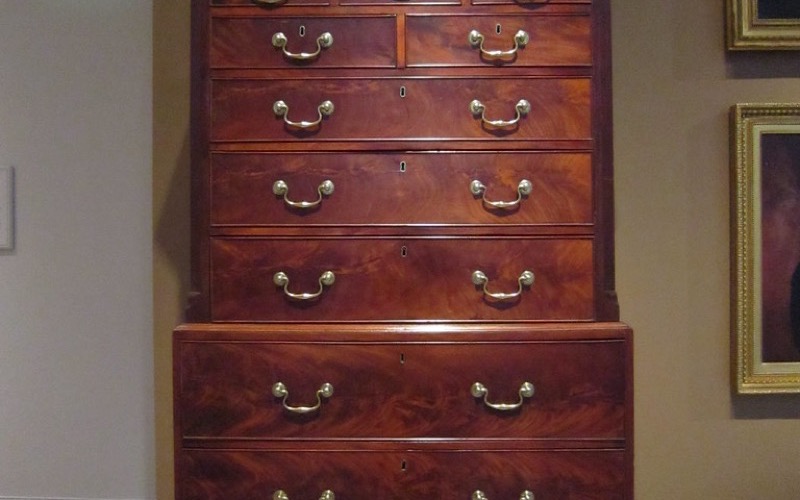
A wall shelf is the perfect first carpentry project: useful, satisfying, and forgiving enough for a total beginner. Whether you want a spot for books, plants, or kitchen spices, learning how to build a simple shelf gives you a real skill and a piece you'll use every day. With a single board, a couple of brackets, and an afternoon, you'll have a sturdy shelf you built yourself.
This beginner DIY guide keeps things simple and safe, walking you from picking the wood to hanging the finished shelf securely on the wall.
Tools and Materials
- A wood board for the shelf (pine is cheap and easy; oak or maple for a premium look)
- Two or more shelf brackets rated for your load
- An electronic stud finder
- A drill with assorted bits and a driver
- Wood screws and any anchors that came with the brackets
- A bubble level and tape measure
- Sandpaper (120 and 220 grit)
- Wood stain or paint, plus a brush or rag
- A pencil and safety glasses
Step 1: Choose Your Wood and Size
For a first shelf, a 3/4-inch thick board is a great balance of strength and weight. Pine is inexpensive and forgiving to cut and finish, which makes it ideal for a beginner woodworking project. Hardwoods like oak hold heavier loads and look richer but cost more. Keep the shelf depth between 8 and 12 inches for everyday items, and plan to support it with a bracket every 24 to 32 inches so it won't sag.
Step 2: Cut and Sand the Board
If the home center cut your board to length, you may only need to clean up the edges. Otherwise, measure twice and cut once.
- Measure and mark your final length, using a square so the line is straight.
- Cut along the line with a hand saw or circular saw, wearing safety glasses.
- Sand all faces and edges with 120-grit sandpaper, then again with 220-grit for a smooth finish.
- Ease the sharp corners slightly so they're comfortable to the touch.
- Wipe away all dust with a clean, slightly damp cloth before finishing.
Step 3: Stain or Paint the Shelf
Finishing the board before you hang it gives a cleaner result and protects the wood. Apply stain with a rag and wipe off the excess, or brush on paint in thin, even coats. Let each coat dry fully, sand lightly between coats with 220-grit, and add a protective topcoat if the shelf will see moisture or heavy use.
Finish your shelf before mounting it. Staining on the wall means drips on your paint and missed spots on the underside. Ten extra minutes on a drop cloth saves a messy cleanup.
Step 4: Find the Studs and Mark the Brackets
A shelf is only as strong as its anchoring. Mounting brackets into studs is the difference between a shelf that holds books for decades and one that pulls out of the wall.
- Use a stud finder to locate the studs, then mark their centers with a pencil.
- Decide your shelf height and draw a light, level horizontal line where the top of the brackets will sit.
- Hold each bracket against the line over a stud center and mark the screw holes.
- Use a level to confirm both brackets are perfectly aligned with each other before drilling.
Step 5: Mount the Brackets and Attach the Shelf
- Drill pilot holes at your marks to keep the screws from splitting the stud.
- Screw the brackets firmly into the studs, checking that they stay level.
- Set the finished board on top of the brackets and center it.
- Drive short screws up through the bracket holes into the underside of the shelf, being careful not to poke through the top surface.
- Give the shelf a gentle press to confirm it's solid before loading it.
Frequently Asked Questions
How much weight can a DIY wall shelf hold?
A 3/4-inch board mounted on quality brackets screwed into studs can typically hold 25 to 40 pounds per bracket, plenty for books and decor. The real limit is the anchoring: brackets in drywall alone hold far less, so always hit studs for anything but the lightest loads.
What's the best wood for a beginner shelf?
Pine is the top choice for beginners. It's affordable, widely available, easy to cut and sand, and takes paint or stain well. Once you're comfortable, step up to a hardwood like oak or maple for heavier loads and a more refined look.
Do I really need to mount a shelf into studs?
For any shelf that will hold weight, yes. Studs provide the strength that drywall can't. If a stud doesn't line up where you want a bracket, use a heavy-duty toggle anchor rated for the load, but understand it will never be as strong as a screw driven into solid wood.
Rather have a pro handle it?
Get matched with a vetted, insured local pro in about 30 minutes — and track them on the live map.