Please fill out the form below and we will get back to you as soon as possible.

Blog
How to Install a Video Doorbell Yourself (Step by Step)
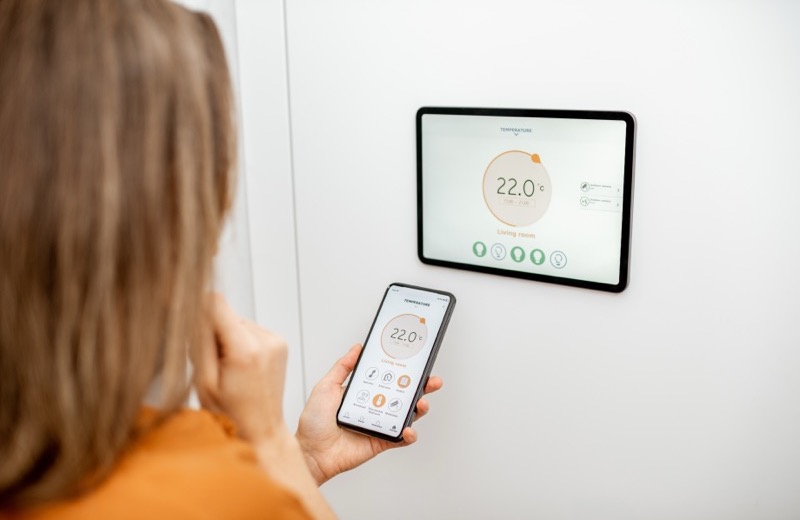
A video doorbell is one of the most satisfying smart home upgrades you can do in an afternoon. You get package alerts, two-way talk, and a recorded clip every time someone walks up to your door. The good news: most video doorbell installation is genuinely DIY-friendly, even if you've never touched a screwdriver to your siding. This guide walks you through how to install a video doorbell safely, whether you're replacing an old wired button or starting from scratch.
Wired vs. Battery: Which Video Doorbell Should You Get?
Before you buy, figure out what your front door already has. If you have an existing doorbell button with two small wires behind it, a wired video doorbell will tap into that low-voltage power and never need charging. If you have no wiring at all, a battery-powered smart doorbell is the easier path and skips the electrical step entirely.
- Wired doorbell: constant power, no charging, but needs a compatible 16-24V transformer
- Battery doorbell: easiest install, but you'll recharge every few months
- Hybrid models: run on battery but can connect to existing wires for trickle charging
Tip: Snap a photo of your existing doorbell wiring before you disconnect anything. It's the cheapest insurance you'll ever buy.
Tools and Materials You'll Need
- Your video doorbell kit (most include screws, anchors, and a mounting bracket)
- Phillips and flathead screwdrivers
- Power drill with a masonry or wood bit (depending on your siding)
- Voltage tester or multimeter
- Smartphone with the doorbell app installed
- Painter's tape and a pencil for marking holes
- Level (or your phone's level app)
Step-by-Step Video Doorbell Installation
- Turn off power to your existing doorbell at the breaker. Confirm it's dead with a voltage tester before touching wires.
- Remove the old doorbell button by unscrewing it and gently pulling the two wires free. Tape the wires to the wall so they don't slip back into the hole.
- Download the doorbell app and create an account first. Many doorbells want you to connect to Wi-Fi before mounting.
- Hold the mounting bracket against the wall, use a level, and mark your screw holes with a pencil.
- Drill pilot holes and insert wall anchors if you're going into stucco, brick, or masonry. Most San Diego homes have stucco, so a masonry bit is your friend.
- Connect the two low-voltage wires to the terminals on your doorbell (polarity usually doesn't matter on low-voltage models, but check your manual).
- Attach the doorbell to the bracket, secure the faceplate, and turn the breaker back on.
- Finish Wi-Fi setup in the app, test the chime, and adjust your motion zones so you're not getting pinged by every passing car.
Fixing Common Video Doorbell Problems
Most install headaches come down to power or Wi-Fi. If your doorbell keeps going offline, it's usually too far from the router or the transformer can't deliver enough voltage. If the existing chime buzzes constantly, you may need the included diode or chime kit installed inside your indoor chime box.
- No power: check the breaker, then test transformer voltage with a multimeter
- Weak Wi-Fi: move closer to the router or add a mesh point near the front door
- Buzzing chime: install the included jumper or chime connector
- Poor night video: clean the lens and angle the camera away from porch lights
Frequently Asked Questions
Do I need an electrician to install a video doorbell?
Usually no. If you're replacing an existing wired doorbell or using a battery model, video doorbell installation is a confident DIY job. You'll only need an electrician if your transformer is undersized, missing, or you want fresh wiring run to a door that's never had a doorbell.
How long does it take to install a smart doorbell?
Plan on 30 to 60 minutes for a wired replacement and as little as 15 minutes for a battery model. Most of the time is spent on app setup and dialing in motion zones, not mounting.
Can a video doorbell work without existing wiring?
Yes. Battery-powered smart doorbells need no wiring at all, they just connect to your Wi-Fi. The tradeoff is recharging the battery every two to four months depending on how much traffic your door sees.
Rather have a pro handle it?
Get matched with a vetted, insured local pro in about 30 minutes — and track them on the live map.