Please fill out the form below and we will get back to you as soon as possible.

Blog
How to Caulk Gaps and Trim for a Seamless Finish
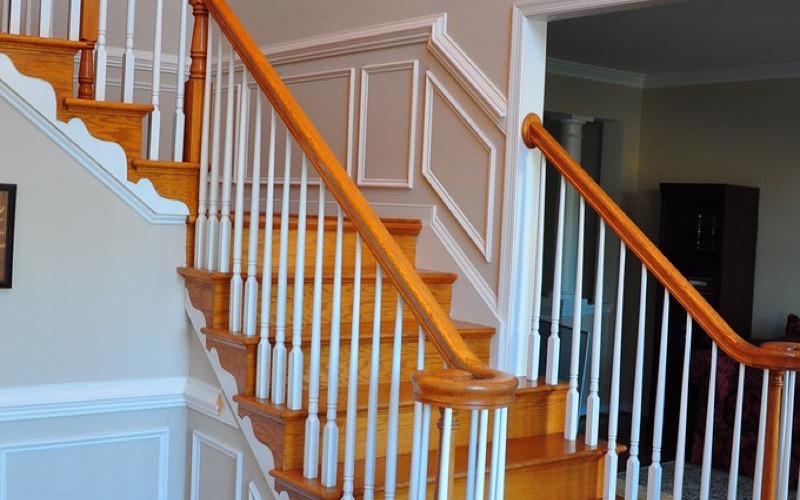
That thin, dark gap between your trim and the wall is one of those small details that quietly makes a room look unfinished. Learning how to caulk gaps and trim is one of the most satisfying, beginner-friendly DIY skills there is — it instantly sharpens your baseboards, blocks drafts, and gives you crisp, paint-ready lines. With the right caulk and a steady hand, you can transform a room's finish in an afternoon.
Choosing the Right Caulk
Using the wrong caulk is the most common mistake. For interior trim that you plan to paint, you want a paintable acrylic latex caulk (often labeled 'painter's caulk' or siliconized acrylic). Avoid pure silicone for these jobs — it won't accept paint and will leave a glossy line that stands out.
- Trim, baseboards, and crown molding: paintable acrylic latex caulk.
- Bathrooms and kitchens (around tubs and sinks): mildew-resistant silicone or kitchen-and-bath caulk.
- Exterior gaps: a flexible, weatherproof exterior-grade caulk.
- Pick a color that matches if you're not painting over it — usually white or clear.
Tools and Materials You'll Need
- Paintable acrylic latex caulk (cartridge or squeeze tube)
- Caulk gun (for cartridges)
- Utility knife
- Damp rag or paper towels
- A small cup of water
- Painter's tape (optional, for ultra-crisp lines)
- Caulk-finishing tool or just your finger
How to Caulk Trim Step by Step
- Clean the gap: remove dust, old caulk, and debris so the new caulk bonds well.
- Cut the tip of the caulk tube at a 45-degree angle, making a small opening — smaller than you think you need.
- For very visible joints, apply painter's tape on both sides of the gap to frame a clean line.
- Hold the gun at a 45-degree angle and squeeze steadily while pulling along the gap in one smooth, continuous motion.
- Lightly wet your finger or finishing tool and run it along the bead once to smooth and press it into the gap.
- Wipe excess off your finger with the damp rag between passes.
- If you taped, peel the tape away immediately while the caulk is wet.
- Let it cure fully (check the label) before painting.
One smooth pass beats ten nervous dabs. Move steadily and let the bead do the work — you can always tool it after.
Pro Tips for a Flawless Caulk Line
- Cut a small tip first — you can always make it bigger, but you can't undo a giant bead.
- Keep the caulk gun moving at a consistent speed to avoid blobs and thin spots.
- Smooth the bead in a single pass; over-tooling leaves ridges and pulls caulk out of the gap.
- Caulk before painting so the line disappears under your topcoat.
- Keep a damp rag in your free hand for instant cleanup.
Common Caulking Mistakes to Avoid
Most caulking failures come from a few avoidable errors: using silicone where you needed paintable caulk, cutting the tip too large, applying too much and creating a sloppy bead, or trying to caulk a gap that's simply too wide. For gaps wider than about a quarter inch, use a foam backer rod first or fill with wood filler — caulk alone will sag and crack.
Frequently Asked Questions
Should I caulk before or after painting?
Caulk before painting. Applying paintable caulk first and then painting over it lets the topcoat blend the caulk line right into the trim and wall, making the joint nearly invisible. Caulking after painting leaves a visible line and can look messy.
How long does caulk need to dry before painting?
Most paintable acrylic latex caulks are dry to the touch in 30 to 60 minutes, but check the label for full cure time before painting — some need a few hours. Painting too soon can cause the caulk to crack or the paint to wrinkle.
What's the best way to get a smooth caulk line?
Cut a small tip, apply a steady continuous bead, then smooth it once with a lightly wetted finger or a caulk-finishing tool. For the crispest result, frame the joint with painter's tape, tool the bead, and remove the tape while the caulk is still wet.
Rather have a pro handle it?
Get matched with a vetted, insured local pro in about 30 minutes — and track them on the live map.