Please fill out the form below and we will get back to you as soon as possible.

Blog
How to Paint a Room Like a Pro: Step-by-Step Guide

A fresh coat of paint is the single cheapest, highest-impact upgrade you can give a room — but the difference between a DIY job and a professional one comes down to prep and technique, not talent. Learning how to paint a room like a pro is mostly about doing the boring steps right. Follow this guide and you'll get crisp lines, even coverage, and a finish that looks like you hired someone.
How Much Paint Do You Need?
Before you shop, measure. A single gallon of interior paint covers roughly 350 to 400 square feet — about one coat on an average bedroom. Most jobs need two coats, so plan accordingly. Measure each wall's width times height, add them up, and subtract for large windows and doors.
Tools and Materials You'll Need
- Interior paint and a matching primer (or paint-and-primer in one)
- 3/8-inch nap roller and a sturdy roller frame
- Roller extension pole
- 2.5-inch angled sash brush for cutting in
- Painter's tape
- Drop cloths or rosin paper
- Paint tray and tray liners
- Spackle, putty knife, and sandpaper for prep
- Damp rags and a sanding sponge
Step 1: Prep the Room (Don't Skip This)
Prep is 80% of a professional result. Take your time here and the painting itself goes fast.
- Move furniture to the center and cover everything with drop cloths.
- Remove outlet covers, switch plates, and any wall hardware.
- Wash the walls with a mild cleaner to remove grease and dust, then let them dry.
- Patch nail holes and dents with spackle, let dry, and sand smooth.
- Apply painter's tape along trim, ceilings, and baseboards, pressing the edge down firmly with a putty knife.
Step 2: Prime When It Matters
You don't always need a separate primer, but you should prime if you're covering a dark color, painting over patches or new drywall, or switching from a glossy to a flat finish. Primer creates a uniform surface so your color goes on true and even.
Step 3: Cut In Your Edges
'Cutting in' means painting the corners, edges, and areas around trim with a brush before you roll. This is the technique that separates pros from amateurs.
- Load your angled brush about a third of the way up the bristles and tap off the excess.
- Paint a 2- to 3-inch band along the ceiling line, corners, and trim.
- Use long, steady strokes and keep a 'wet edge' so the rolled paint blends in.
- Cut in one wall at a time so the edges stay wet when you roll.
Keep a wet edge. If the cut-in paint dries before you roll up to it, you'll see a visible line — so work one wall at a time, brush then roll.
Step 4: Roll for a Smooth Finish
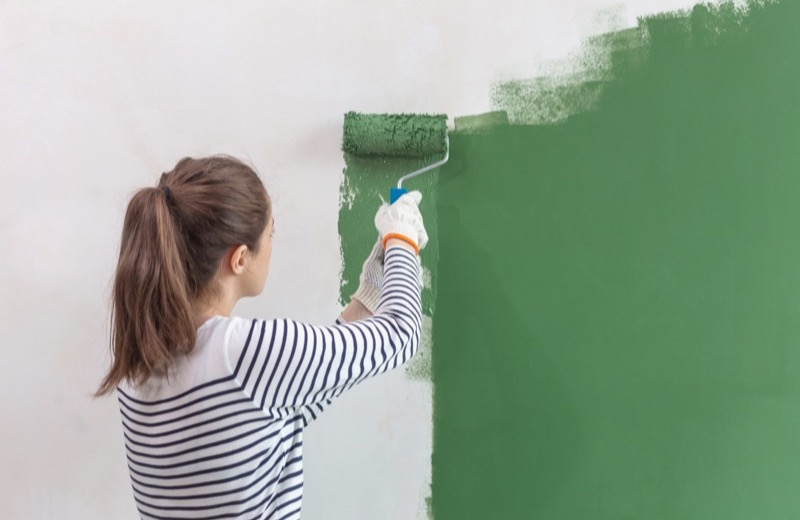
Pour paint into your tray, load the roller evenly, and apply paint in a large 'W' or 'M' shape about three feet wide. Then fill it in with overlapping vertical strokes without lifting the roller. Finish each section with light, top-to-bottom passes to remove roller marks. Apply a second coat once the first is fully dry.
Step 5: Remove Tape and Clean Up
Pull the painter's tape while the final coat is still slightly wet, peeling it back at a 45-degree angle for the cleanest line. Reattach outlet covers, move furniture back, and let the room cure for a day or two before hanging anything.
Frequently Asked Questions
Should I paint the ceiling, walls, or trim first?
Paint the ceiling first, then the walls, and finish with the trim. This order lets you work top-down so any drips fall onto surfaces you haven't finished yet, and it gives you the crispest trim lines at the end.
Why does my paint look streaky or patchy?
Streaks usually come from too little paint on the roller, a roller nap that's the wrong thickness, or not maintaining a wet edge. Apply a full, even coat, use a quality 3/8-inch nap roller for most walls, and always do a second coat for uniform color.
How long should paint dry between coats?
Most interior latex paints are dry to the touch in about an hour and ready for a second coat in 2 to 4 hours. Check the can — humidity and temperature can extend drying time. Recoating too soon can pull up the first coat and ruin the finish.
Rather have a pro handle it?
Get matched with a vetted, insured local pro in about 30 minutes — and track them on the live map.