Please fill out the form below and we will get back to you as soon as possible.

Blog
How to Replace a Light Switch Yourself (Safe DIY Guide)
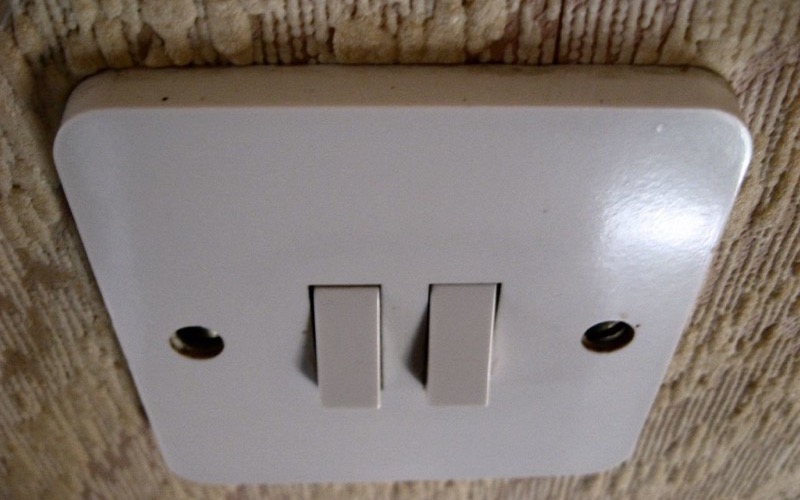
A flickering, sticky, or cracked light switch is more than an annoyance, it can be a sign the switch is wearing out inside. The good news: replacing a single-pole light switch is one of the most approachable electrical DIY projects, and you can do it safely in well under an hour with basic tools.
This guide walks you through how to replace a light switch from start to finish, including the safety steps that matter most. Take it slow, double-check the power is off, and you'll have a crisp new switch by the end.
Before You Start: Identify Your Switch Type
Most wall switches that control a single light from one location are single-pole switches with two screw terminals plus a ground. If your light is controlled from two different spots, you have a three-way switch, which is wired differently. For this guide we'll focus on the common single-pole light switch replacement.
Snap a clear photo of the existing wiring before you disconnect anything. That picture is the best insurance policy you'll ever take for ten seconds of effort.
Tools and Materials You'll Need
- New single-pole light switch (match the amperage rating)
- Flathead and Phillips screwdrivers
- Non-contact voltage tester (essential)
- Needle-nose pliers
- Wire strippers
- Electrical tape
- A flashlight or headlamp
How to Replace a Light Switch, Step by Step
- Turn off the power at the breaker that controls the switch, not just the wall switch itself. Flip the breaker to off.
- Test the switch with a non-contact voltage tester to confirm the power is truly off before touching any wires. Test more than once.
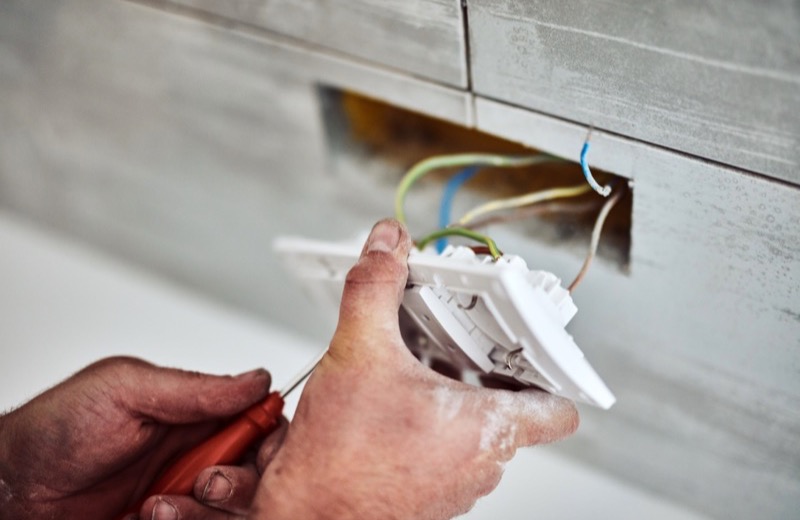
- Unscrew the cover plate, then remove the two screws holding the switch in the electrical box. Gently pull the switch out.
- Take a photo of the wiring, then note which wire connects to which terminal. Loosen the terminal screws and remove the wires.
- Connect the wires to the new switch the same way: the two hot wires to the brass terminals and the bare or green ground wire to the green ground screw. Wrap connections snugly clockwise.
- Gently fold the wires back into the box and screw the new switch into place. Reattach the cover plate.
- Restore power at the breaker and test the switch. It should click cleanly and control the light with no flicker.
If your switch has push-in 'backstab' connections instead of side screws, the screw terminals are more reliable. Wrapping the wire around the screw makes a stronger, longer-lasting connection.
Common Mistakes to Avoid
Most light switch replacements go smoothly, but a few avoidable errors cause the majority of callbacks. Keep these in mind as you work and you'll end up with a safe, reliable switch that lasts for years.
- Skipping the voltage test. Always confirm power is off, even if you flipped the breaker.
- Forgetting the ground wire. The green or bare wire is a critical safety connection.
- Overstuffing the box, which can pinch wires or loosen connections. Fold them in neatly.
- Mismatching switch ratings. Always use a switch rated for your circuit's amperage.
- Leaving terminal screws loose. A loose screw causes flickering and can overheat over time, so snug each one firmly.
Frequently Asked Questions
Do I need to turn off the whole house to replace a light switch?
No. You only need to switch off the specific breaker that powers that circuit. Use a non-contact voltage tester to confirm the wires are dead before you start working.
What does the ground wire do on a light switch?
The ground wire, usually bare copper or green, gives stray electrical current a safe path away from you in the event of a fault. Modern code requires it, so always connect it to the green ground screw on the new switch.
How do I know if it's a single-pole or three-way switch?
Count the terminals. A single-pole switch has two brass screws plus a ground. A three-way switch has three terminals plus a ground and controls one light from two locations. The wiring differs, so match the replacement to what you remove.
Rather have a pro handle it?
Get matched with a vetted, insured local pro in about 30 minutes — and track them on the live map.