Please fill out the form below and we will get back to you as soon as possible.

Blog
How to Replace a Showerhead in 10 Minutes (No Plumber)
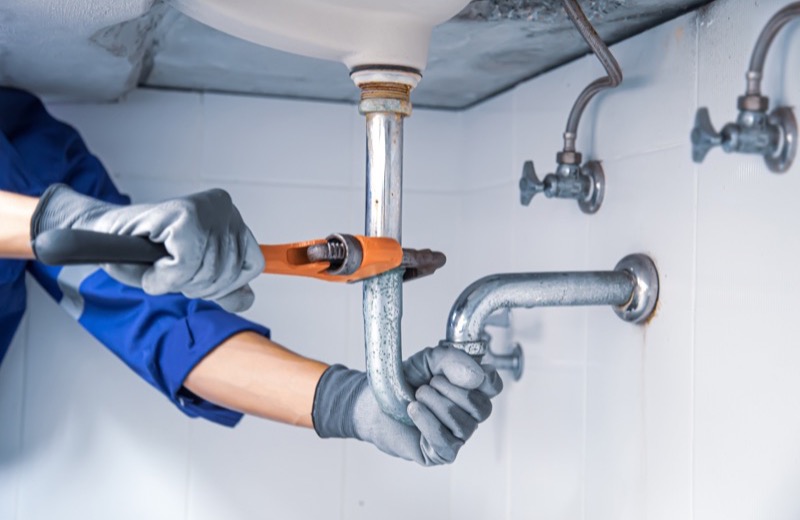
Want a quick, satisfying home upgrade you can finish before your coffee gets cold? Learning how to replace a showerhead is the perfect starter plumbing project. There's no water shutoff required, no special skills, and the payoff is better water pressure, a cleaner look, and often a lower water bill. Whether you're chasing a luxurious rainfall spray or just fixing a crusty, leaking showerhead, this job takes about 10 minutes.
Choosing the Right Showerhead
Before you install a new showerhead, pick one that fits your needs. Standard fixed heads are cheapest and most reliable. Handheld models add flexibility for rinsing and cleaning. Rainfall heads feel luxurious but may reduce pressure in older homes. Look for a WaterSense label if you want to save water, and confirm the connection is the universal half-inch size, which nearly all U.S. showers use.
Tools and Materials You'll Need
- Your new showerhead
- Plumber's tape, also called PTFE or Teflon tape
- An adjustable wrench or pliers
- A soft cloth to protect the finish
- White vinegar and an old toothbrush for cleaning the threads
How to Replace a Showerhead: Step by Step
- Remove the old showerhead by turning it counterclockwise. If it's stuck, grip the shower arm with a cloth-wrapped wrench to hold it steady and twist the head with pliers.
- Clean the threads on the shower arm with vinegar and a toothbrush to remove old tape and mineral scale.
- Wrap plumber's tape clockwise around the shower arm threads two or three times, pulling it snug so it grips the grooves.
- Hand-thread the new showerhead onto the arm, turning clockwise until snug. Avoid overtightening, which can crack plastic fittings.
- Give it a final quarter turn with a cloth-wrapped wrench if needed for a leak-free seal.
- Turn on the water and check the connection. If it drips at the joint, tighten slightly or add another wrap of tape.
The single biggest cause of a leaking showerhead is skipping the plumber's tape or wrapping it the wrong direction. Always wrap clockwise so it tightens as you thread the head on.
Fixing a Leaking or Low-Pressure Showerhead
If your existing head leaks or sprays unevenly, you may not even need a new one. Unscrew it, soak it in a bowl of white vinegar for an hour to dissolve mineral buildup, scrub the nozzles, rinse, and reinstall with fresh plumber's tape. In San Diego's hard water, this simple descaling restores pressure on many clogged heads. For heads with rubber nozzle tips, you can often clear a clogged jet just by rubbing it with your thumb while the water runs, which breaks loose any scale that has formed at the opening.
Boosting Water Pressure
If your shower feels weak even after cleaning, check whether your new head has a removable flow restrictor. These small plastic discs limit water use and can be adjusted or, where local codes allow, removed to improve pressure. Keep in mind that flow restrictors also save water and money, so weigh the trade-off before pulling one out. A WaterSense head delivers a strong spray while still using less water, which is often the better long-term choice.
Frequently Asked Questions
Do I need to turn off the water to replace a showerhead?
No. The showerhead is on the open end of the shower arm past all the valves, so as long as the shower itself is off, no water flows while you work. There's no need to shut off the main or any supply valve for a basic showerhead replacement.
How do I remove a showerhead that won't budge?
Mineral buildup often cements an old head in place. Wrap the shower arm with a cloth and hold it firmly with one wrench while you turn the head counterclockwise with another. The cloth protects the finish and keeps you from twisting the arm loose inside the wall.
Why is my new showerhead leaking at the connection?
A leak where the head meets the arm almost always means the plumber's tape was missed, applied in the wrong direction, or the head wasn't threaded on straight. Remove the head, rewrap the threads clockwise with two or three layers of tape, and reattach it hand-tight plus a small turn with a wrench.
Rather have a pro handle it?
Get matched with a vetted, insured local pro in about 30 minutes — and track them on the live map.